In this post, we're going to deploy Check Point Solution running Gaia R80.40, on EVE-NG. These guide is also valid for deployments using VMWare Workstation.
This lab is based in the topology below:
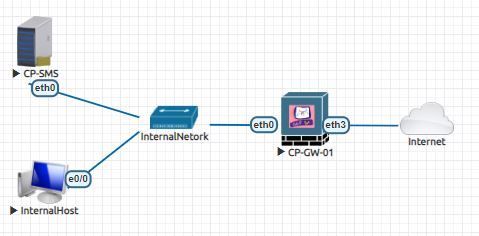
First we're going to download Gaia on the link below:
https://supportcenter.checkpoint.com/supportcenter/portal?eventSubmit_doGoviewsolutiondetails=&solut...
Choose the option: Security Gateway / Standalone / Security Management Clean Install.
Once we get Gaia OS, we can install it on EVE-NG or VMWare Workstation;
The following steps will be the same whether you're deploying on EVE-NG or VMWare. For this article, we're going to refer only for steps in EVE-NG. Add two Check Point nodes like in the topology above and let's start the installation process.
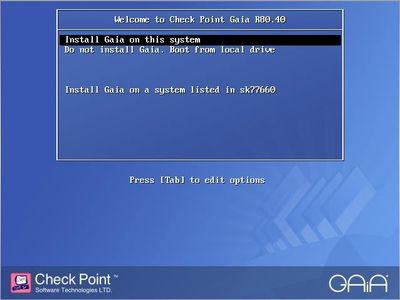
Stop the boot process by typing any key and select Install Gaia on this system
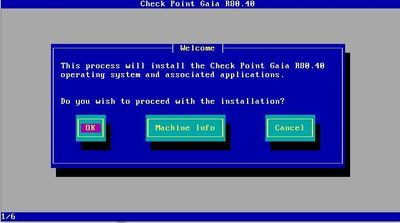
Proceed with Welcome screen
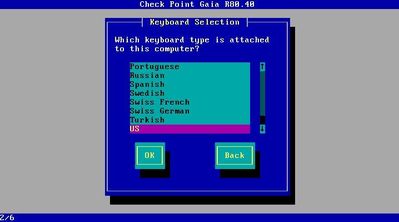
Choose your keyboard language
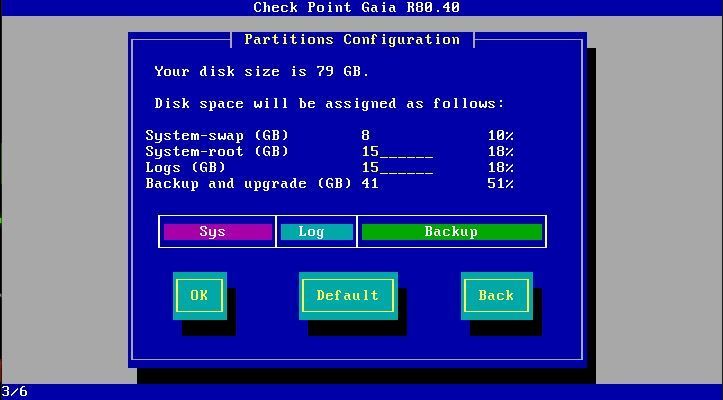
Set the partition option (I'll use the defaults)
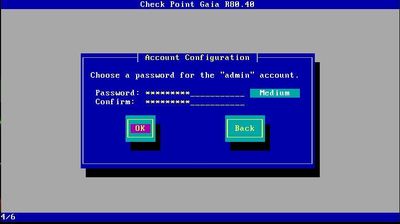
Set your login credentials
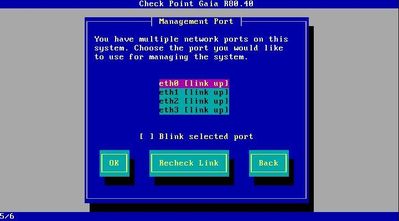
Choose which interface will be the Management Port (I'll choose eth0)
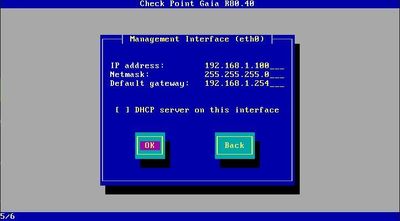
Set the Management Interface IP address
Proceed with the installation
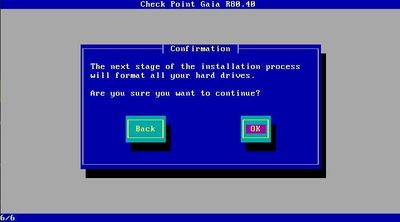
Once it finishes we'll reboot the machine. Do the same steps for the other machine but assign it a different IP address.
Now let's proceed with the first installation wizard by accessing the two machines via browser: https://ipaddress.
We'll start with the gateway.
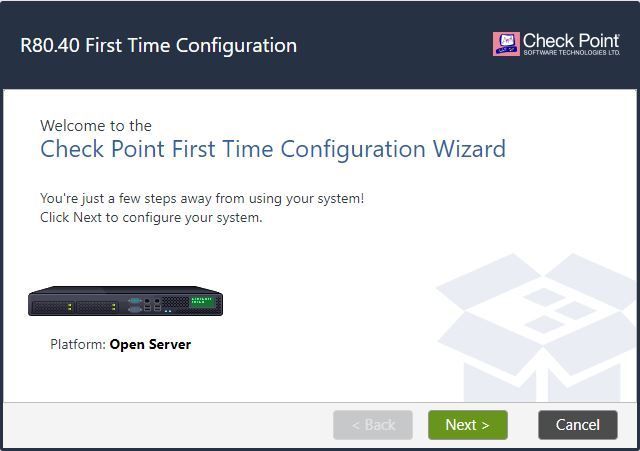
In the Internet Connection page, set the interface leading to the internet (external interface)

In Installation Type page, choose Security Gateway and/or Security Management

In Products choose Security Gateway and proceed
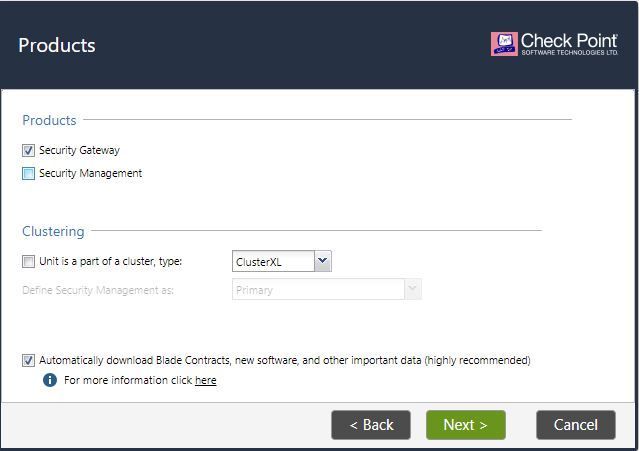
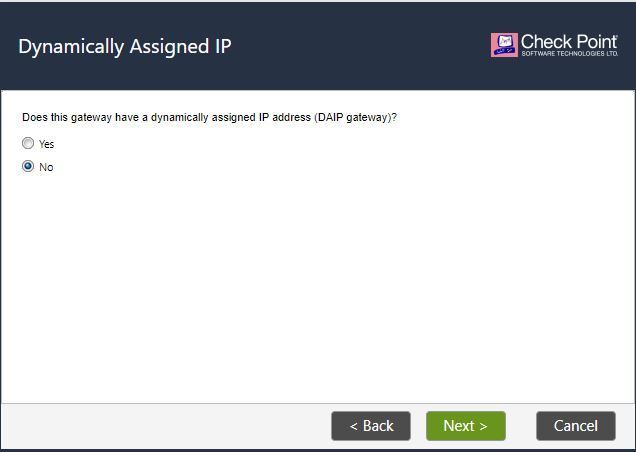
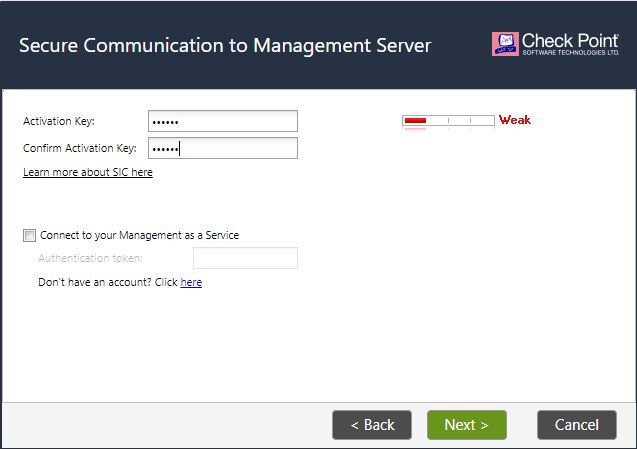
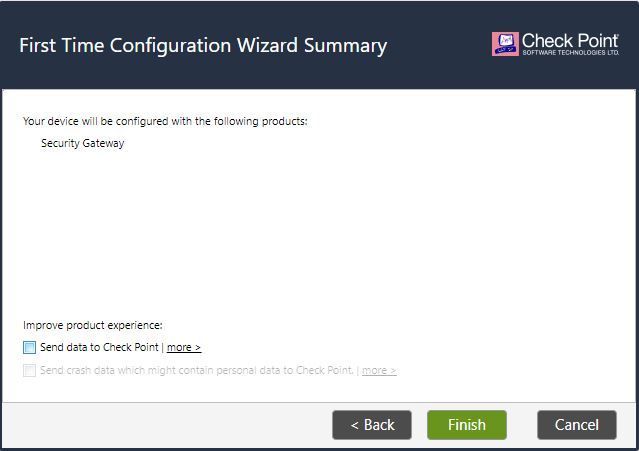
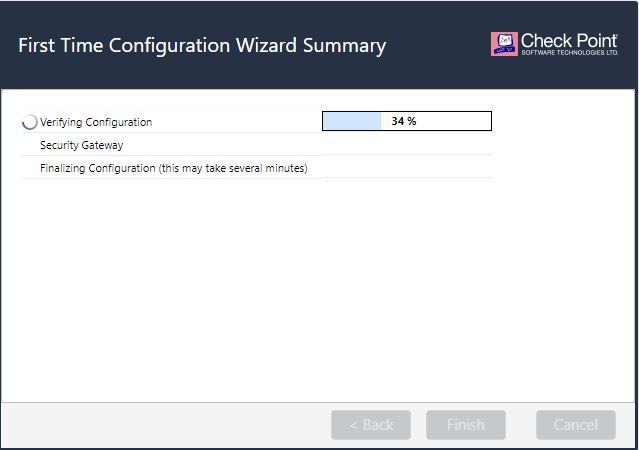
For the management server, some of the initial steps will be the same done in the gateway section.
In Products choose Security Management
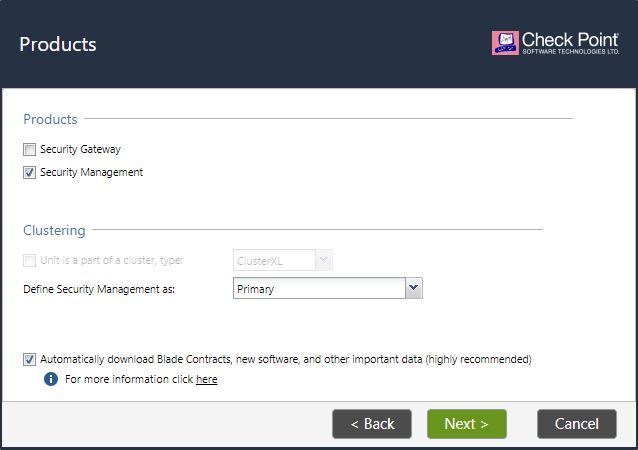
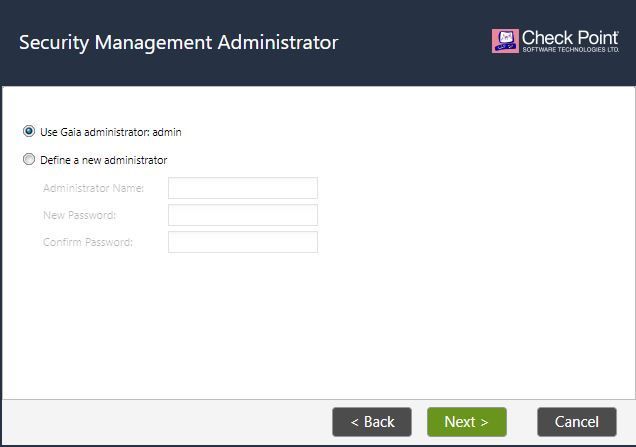
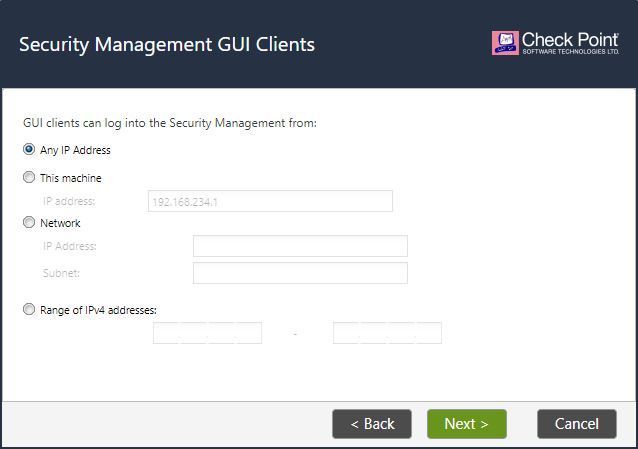

Once the installation finishes, we'll download SmartConsole from Security Manager Gaia portal and install it.
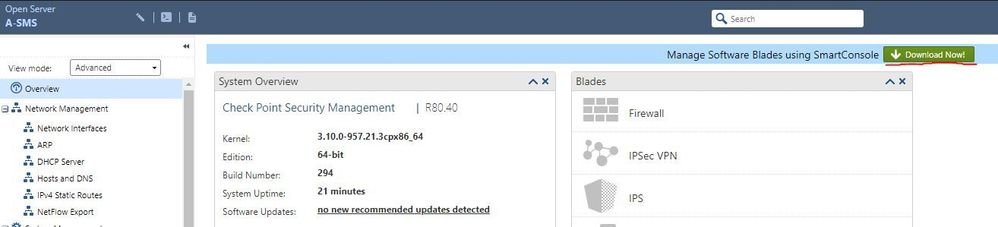
Now let's login into the management server using SmartConsole and add the Gateway.

In the Gateways and Servers Toolbar, select New > Gateway
Set the Name, IP Address, and Communication key. In communication window, type the password defined earlier for SIC and select Initialize.
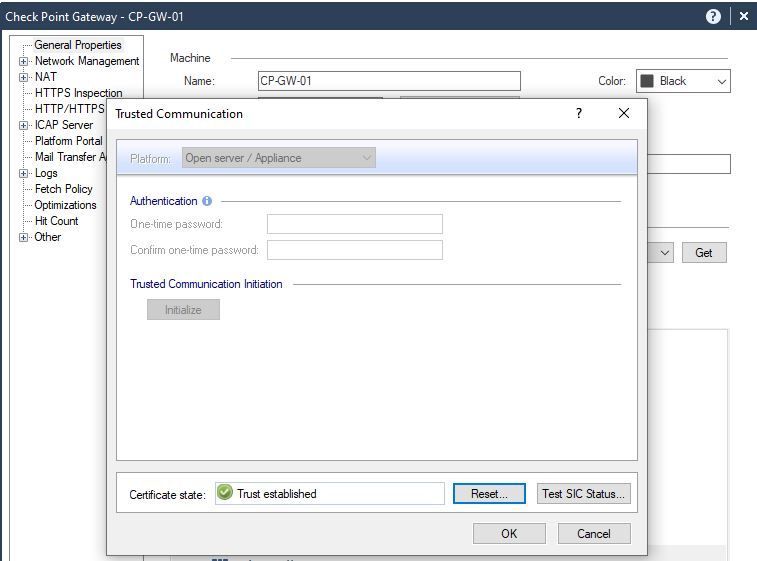
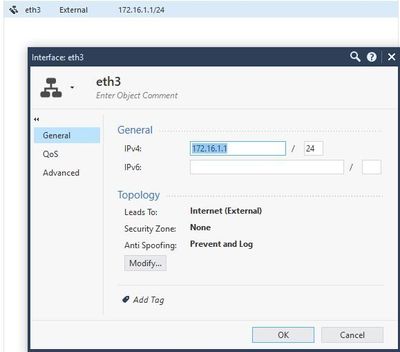
Press OK and proceed to the Network Management pane, edit the interface leading to the internet and Modify it's topology to Internet (External).
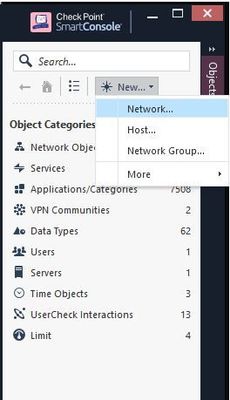
Let's add our internal network into SmartConsole by clicking New > Network in the Objects Pane in the right.
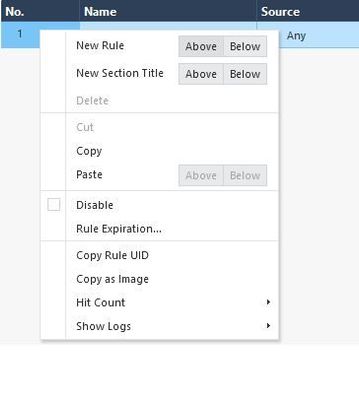
Access the Security Policies pane and add a new rule above the existing Clean Up rule.
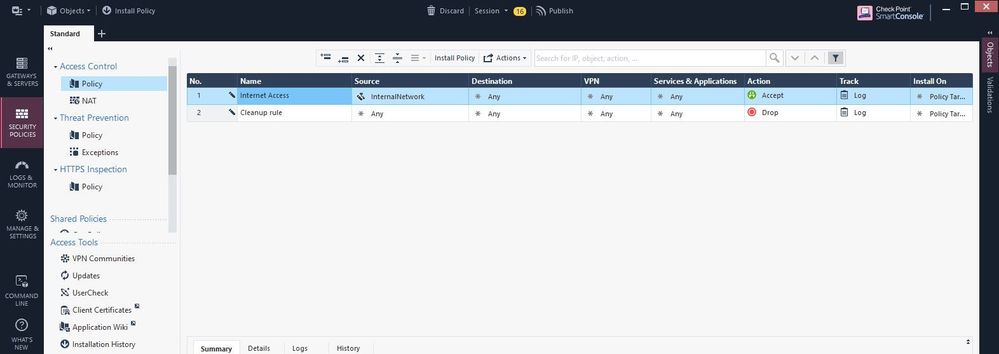
Install Policy and publish the session.
And that's all you need to deploy Check Point solution.
By default, after deploying Check Point products, you have a 15 days trial license period. If you want to test some advanced features like ClusterXL, IPS... you can download a demo license in the link below and you'll have 30 day period to test those features:
https://supportcenter.checkpoint.com/supportcenter/portal
Once you login, access the page Try Our Products > Product Evaluation and choose the license that fits you bettter.
In SmartConsole access the Menu > Manage licenses and packages...
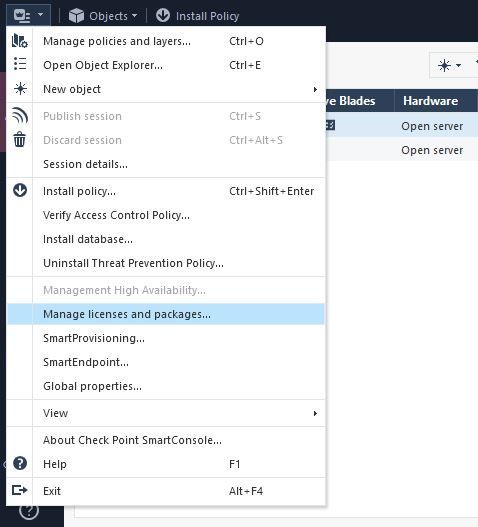
In SmartUpdate, import the license file and attach in the management server or in the gateway.

Hope you enjoyed this post, leave your comments below and I'll see you on the next post.