Hi there, in this post we’re going to deploy Check Point Security Management High Availability on Gaia R81.
This lab assumes you already have Check Point solution deployed. The current CMA is running Check Point latest release Gaia R81 on VMWare Workstation. The secondary/standby CMA will be deployed with the same version.
Let’s begin by installing the new CMA. As I already covered, how to deploy Check Point R81 on a previous post, I won’t be covering it again. You can find the article in the link below:
https://community.checkpoint.com/t5/General-Management-Topics/How-To-s-Deploy-Check-Point-R81/td-p/103367
During the first time wizard, in Products page, select Security Management only and in Clustering section, choose Define Security Management as Secondary. Proceed with the installation process.
Once the installation process finishes, let’s log into smartconsole and add the new CMA as standby.
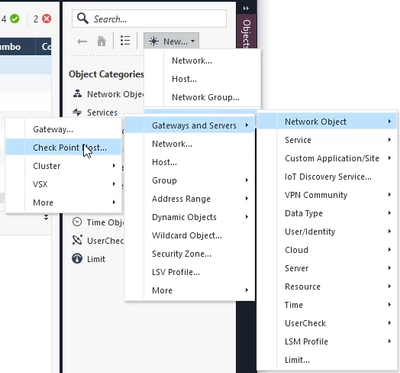
In side panel, we’ll select New > More > Network Object > Gateways and Servers > Check Point Host…
 1.png
1.png
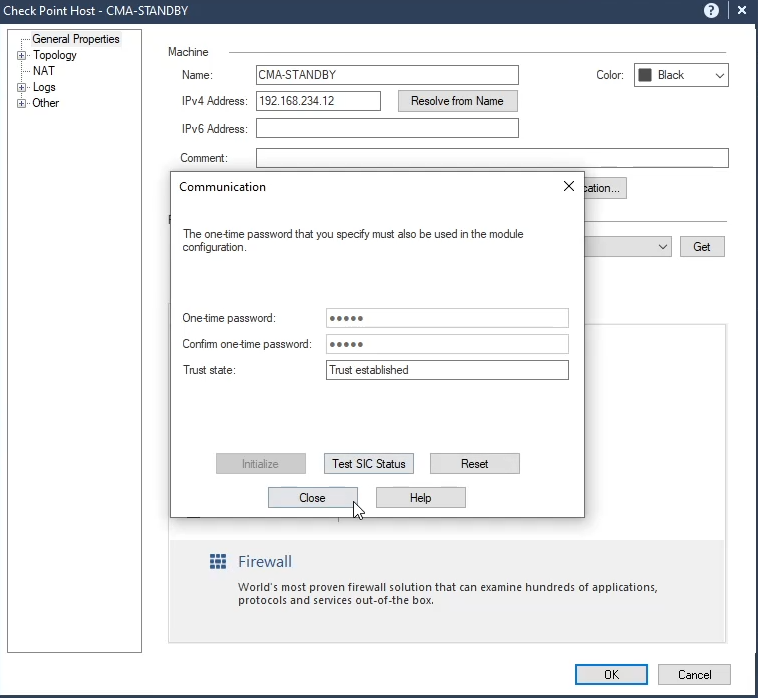
We’ll add the name, the IP address and in Management tab select Network Policy Management and Logging & Status. Next we establish the communication with CMA-STANDBY.
 2.png
2.png
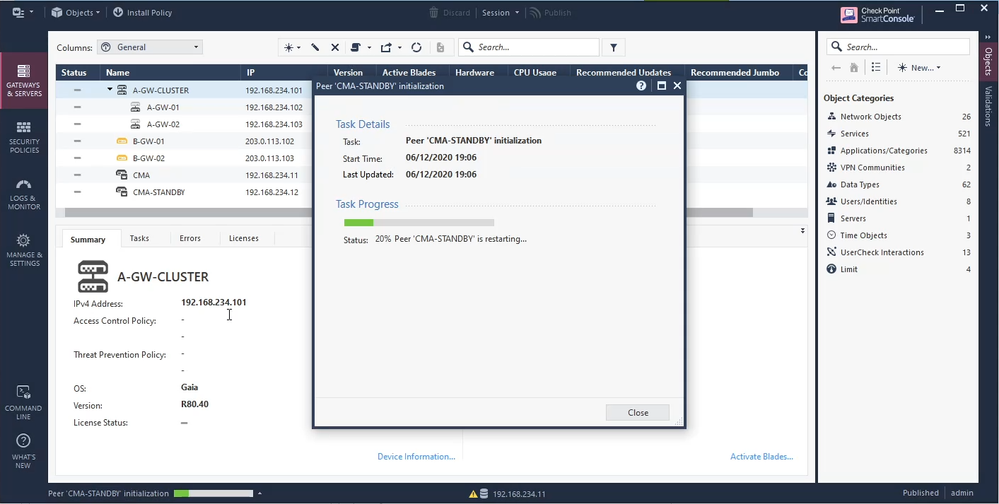
Once we press ok and publish the changes, the primary CMA will start the synchronization with the secondary.
 3.png
3.png
Once the synchronization ends successfully, we’ll add a license to the secondary CMA.
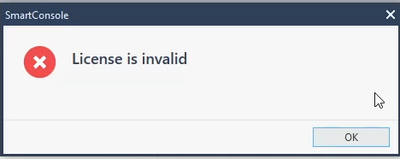
Some errors... First I used the new pane Licenses in smartconsole but I got the error below.
 4.png
4.png
Then I decided to use SmartUpdate. The License installation was successful, but for some reason (there wasn’t much to troubleshoot), after performing failover smartconsole didn’t validate the new license.
 6.png
6.png
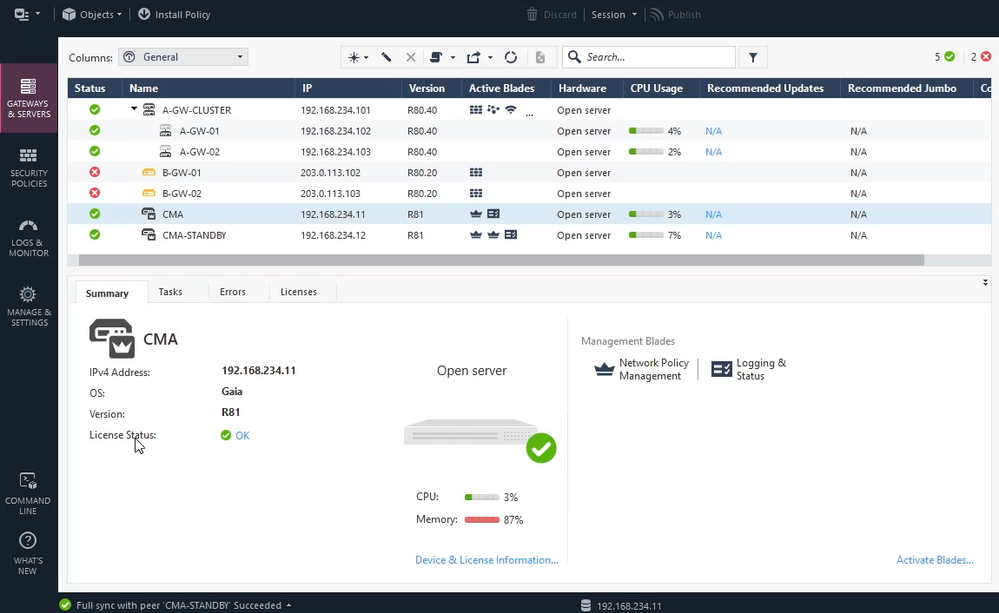
So I had to download a new license with the IP address of the CMA STANDBY. Only then the Status changed to OK.
 7.png
7.png
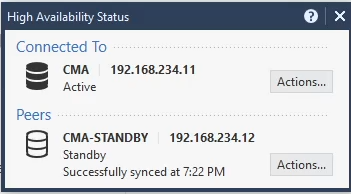
Now we can verify the Management High Availability through the smartconsole Menu.
 8.png
8.png
It shows which one is the Active and which one is the Standby.
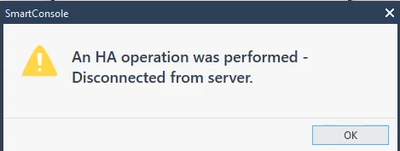
To test whether this feature is working, let’s change the Active CMA role as standby in Actions > Set Standby.
By doing this our session will be terminated.
 9.png
9.png
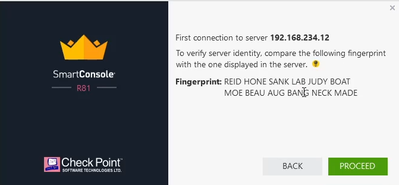
Now let’s close smartconsole and open a new session to the CMA Standby IP address. Accept the fingerprint and Proceed.
 10.png
Now we have both CMA as standby. Let’s make the CMA-STANDBY become the Active one.
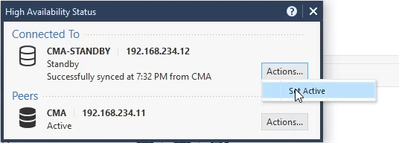 11.png
Once more our session will be terminated.
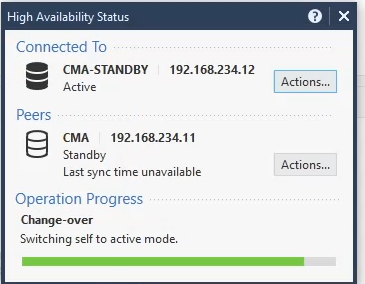 12.png
When we log in back, and check the Management High Availability Status, we can confirm that the CMA-STANDBY is the active one, and all the changes we do will be synced with previous active one.
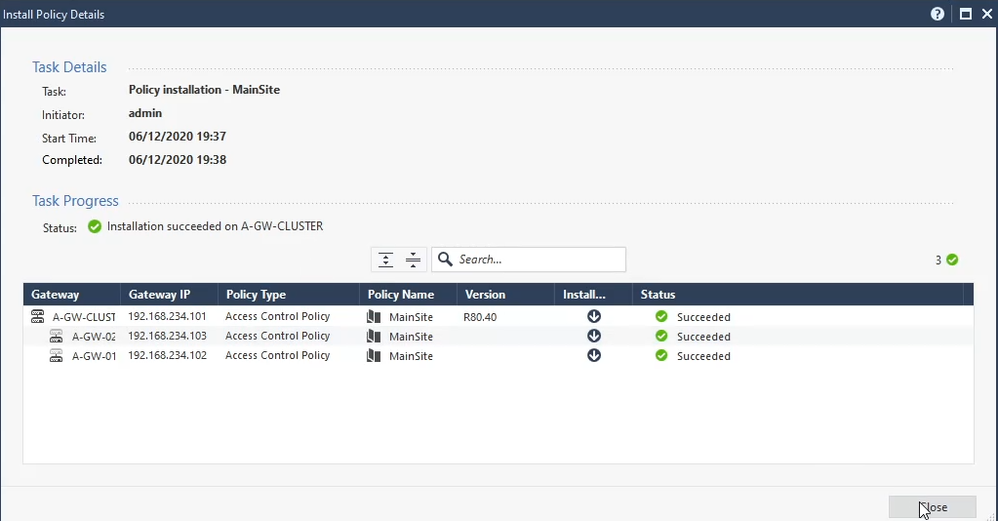 14.png
So we have deployed Check Point Security Management with High Availability.
I hope you enjoyed this post, leave your comments below and I'll see you on the next one.
Reference:
https://supportcenter.checkpoint.com/supportcenter/portal?eventSubmit_doGoviewsolutiondetails=&solutionid=sk166715